Vacuum Anxiety in Pets: Calm Dogs & Cats Step by Step
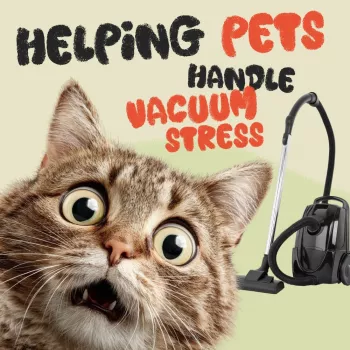
Helping Pets Handle Vacuum Stress: A Calm, Step-by-Step Plan for Dogs and Cats
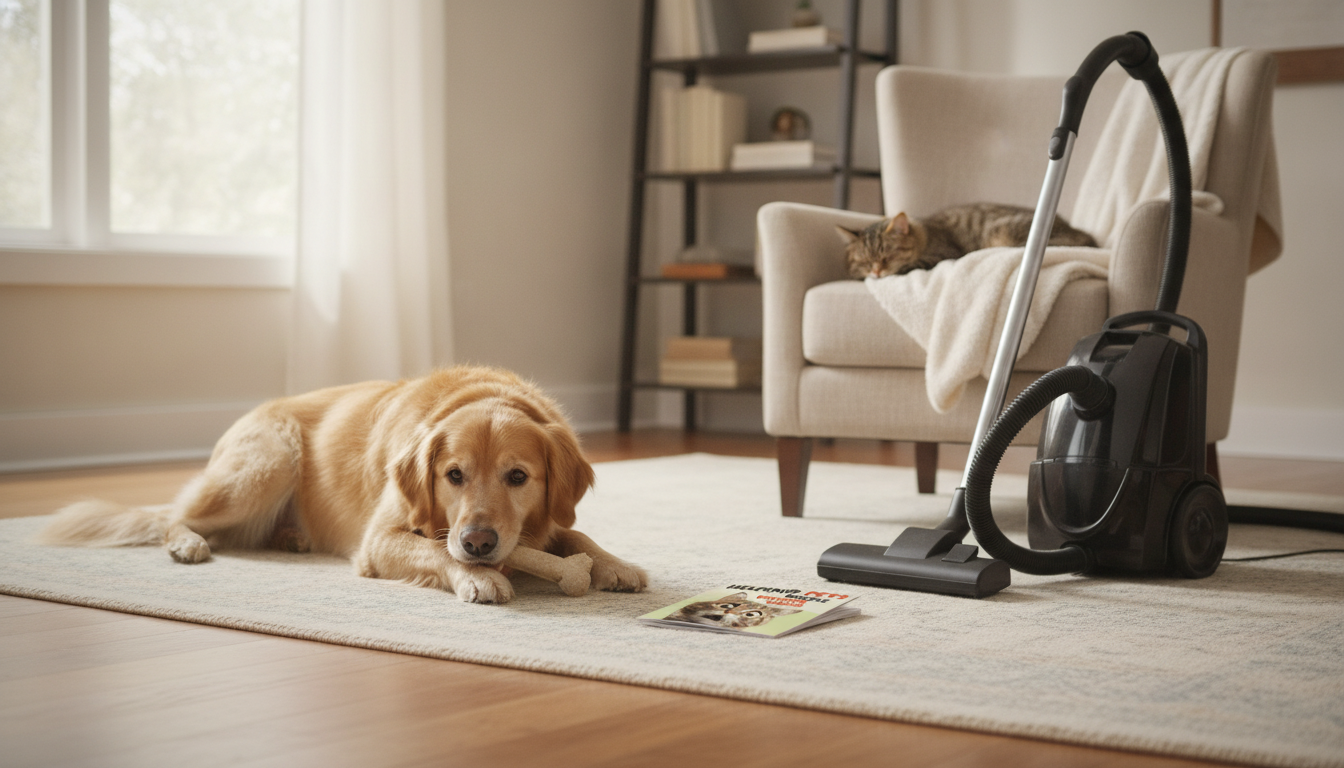
Vacuum cleaners can trigger fear because of sudden noise, movement, and unfamiliar vibrations. With a gradual approach, predictable routines, and the right supports, most pets can learn to stay calm—or at least feel safe—while floors get cleaned.
Why vacuums feel scary to pets
To dogs and cats, a vacuum isn’t “just a household tool.” It combines several things many animals naturally avoid:
- Noise sensitivity: high volume plus sharp pitch changes can feel threatening, especially for noise-reactive dogs.
- Unpredictable movement: the vacuum “chases” crumbs in patterns pets can’t anticipate, which can look like a threat.
- Vibration and airflow: floor vibrations and air suction can be startling, particularly for cats and smaller dogs.
- Past learning: one frightening event (slipping near the vacuum, being bumped, loud start-up) can create lasting avoidance.
Fear around loud household events is common; reputable overviews from the American Veterinary Medical Association (AVMA) and the ASPCA can help you spot when a reaction has crossed into a bigger anxiety issue.
Spot the difference between mild stress and panic
Knowing what you’re seeing helps you choose the right next step. Training works best when a pet is under threshold—aware of the vacuum, but still able to eat, think, and settle.
- Mild stress signs: ears back, lip licking, yawning, tucked tail, avoiding the room, hiding behind furniture.
- Escalating fear: trembling, panting, pacing, barking/growling, frantic hiding, attempts to escape.
- Panic or phobia indicators: destructive scratching at doors, urination/defecation, intense vocalization, refusal to eat treats even at a distance.
- When fear is intense, shift from “training during vacuuming” to “safety first”: distance, barriers, and shorter sessions.
If your pet is panicking, the goal for now is protection and recovery—not “pushing through.”
Set up a “safe zone” before any training
A safe zone gives your pet a reliable place where nothing scary happens. This reduces overall stress and makes training faster because your pet has an exit strategy.
- Pick the spot: choose a quiet room or covered crate/bed area that is never invaded by the vacuum; add familiar bedding and a water bowl.
- Buffer sound: close doors, add a white-noise machine, fan, or calm music to mask vacuum noise.
- Offer a “vacuum-only” project: give a long-lasting calming activity only in the safe zone during vacuuming (stuffed food toy, lick mat, chew).
- Multi-pet tip: separate pets to prevent fear contagion and reduce competition over treats/chews.
Consistency matters: if the vacuum ever enters the safe zone, the safe zone stops feeling safe.
Desensitization plan: from “vacuum off” to “vacuum nearby”
Progress is built in tiny, repeatable wins. Keep sessions short, end early, and aim for relaxed body language—not bravery. Increase only one variable at a time (duration, distance, intensity). If your pet startles, go back one step for several sessions.
Progress checklist for vacuum practice
| Stage | Vacuum status | Pet location | Goal sign of comfort | Typical session length |
|---|---|---|---|---|
| 1 | Off, stationary | Same room | Sniffs/looks then relaxes | 1–3 minutes |
| 2 | Off, rolled slightly | Same room or behind gate | Eats treats with loose body | 1–2 minutes |
| 3 | On, far away | Safe zone | Chews/licks, minimal scanning | 5–20 seconds to start |
| 4 | On, moving | Behind gate or safe zone | Settles back quickly after brief startle | 30–120 seconds |
Stage-by-stage walkthrough
- Stage 1 (vacuum off): place the vacuum in the room, reward calm looks/sniffs; end before stress builds.
- Stage 2 (movement off): roll the vacuum a few inches without turning it on; reward and stop while the pet is still relaxed.
- Stage 3 (sound at a distance): turn the vacuum on briefly in another room or far away; pair the sound with high-value treats, then turn it off.
- Stage 4 (sound + movement): vacuum a small area while the pet stays behind a gate or in the safe zone with a chew; gradually reduce distance over days/weeks.
Make vacuum time predictable (and less intense)
Support tools that can help sensitive pets
- Environmental aids: baby gates, closed doors, and sound masking to create physical and auditory distance.
- Comfort items: calming beds, covered crates, and lickable enrichment to encourage self-soothing.
- Behavior support: reward-based training and calm routines; consider a certified trainer for severe cases.
- Product option: Helping Pets Handle Vacuum Stress can be used as part of a calm routine to support pets during noisy household tasks.
For owners who like having structured checklists and routines in one place, digital guides can also help with consistency. Some households keep a simple “routine plan” document alongside pet training notes, similar to the format used in Solo Traveler’s Guide to Staying Safe | Guide | Digital Download PDF eBook | Solo Travel Safety Tips & Checklist | Travel Security Planning—the main benefit is sticking to a repeatable plan rather than improvising during stressful moments.
When to involve a veterinarian or behavior professional
For deeper background on behavior problems and anxiety, the Merck Veterinary Manual is a helpful reference to discuss with your veterinary team.
FAQ
How long does it take for a pet to get used to the vacuum?
Mild stress can improve in days to a few weeks with short, consistent practice. For true phobias, progress often takes weeks to months—move gradually, change only one variable at a time, and step back if stress shows up.
Should a fearful pet be comforted during vacuuming or ignored?
Calm reassurance is fine, but avoid frantic or intense soothing that can increase arousal. Prioritize safety and distance, and reward calm behavior rather than forcing exposure.
Is it okay to vacuum while my pet is in a crate?
Yes if the crate is a known safe place your pet chooses, and the session is kept short. Avoid trapping a panicked pet; covering the crate and offering a chew or lickable enrichment can help the crate feel more secure.


Leave a comment